
This workflow can used for any type of research based work, from upper level high school research papers to doctoral theses. It’s especially helpful in keeping your ideas and sources organized and help you to avoid any issues with plagiarism. This is the setup I used for my graduate school dissertation, and it worked exceedingly well. I hope it helps you in your research too! It requires computer access, free Mendeley, Dropbox, and Evernote accounts, a copy of Microsoft Word, and and optional iPad or Android tablet with the iAnnotate PDF app.
1. Gather your research sources in Mendeley
Import all PDF sources into the Mendeley Desktop application and add any other research sources by citation. All of your research sources should be in the database. Not sure what Mendeley is or how to set it up? Click here.
2. Ensure that your Mendeley library is located in Dropbox
Here’s a recap, from my Mendeley tutorial, in case you need it:
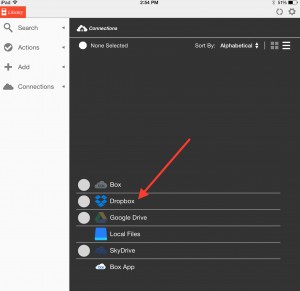
First, make sure that you have a Dropbox account and have downloaded the Dropbox desktop application (so that your Dropbox folder appears as a location on your computer’s hard drive). If you are unsure how to do this, see this post.
Add a folder named Mendeley to your Dropbox. Open Mendeley’s preferences, and under the “File Organizer” tab, select the new Dropbox Mendeley folder as the location of your library, by using the Browse… function. Once this is set, your Mendeley library is automatically backed up to the cloud (via Dropbox) so you don’t have to worry about any computer mishaps. Additionally, it makes it accessible to other devices.

3. Add Microsoft Word integration
This step is key! (And quite possibly the most useful part of Mendeley!) To add the Microsoft Word Plugin, open the “Tools” option at the top of the page and select “Install MS Word Plugin”. This plugin allow you to add your citations to your paper as you write, then automatically create a works cited page at the end.
4. Download iAnnotate PDF for iPad or Android tablets
You don’t have to use iAnnotate PDF or even an iPad or tablet. I do recommend an iPad for school – but if you don’t have one, don’t want to use one, or don’t want to purchase and use iAnnotate, that’s fine. You can always take notes on PDFs either through the free Adobe Acrobat Reader (on Mac or Windows) or through Preview (Mac OSX’s native PDF reader). If you aren’t going to use iAnnotate, skip to step 8 .
5. Use iAnnotate PDF for iPad to read, view, and annotate your sources
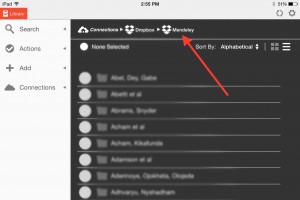
To set up iAnnotate PDF for this workflow, first add your Mendeley library to iAnnotate. Add your Dropbox folder that contains your library (see step 2).
If you followed my directions, it should be located under Dropbox/Mendeley. The great thing about iAnnotate is that unlike other annotation apps, you do not have to import files and then export them to get functionality. In other words, you do not have to add the files, make copies, annotate the copies, then export and save the copies. Instead, you read and write to the original files themselves, so your Mendeley library is always properly synced, and you never have too many copies of the same files.
Once your Mendeley library is added, open a PDF to annotate, by first selecting an author’s folder, and then the PDF file itself.
You can use iAnnotate to handwrite notes (with a stylus) or to highlight sections. I recommend the highlighting feature, for reasons you will see below. Highlight relevant sections to your research. iAnnotate can highlight PDFs that use OCR (optical character recognition) and actually gather those highlighted sections (with page numbers) into a single document via its share option.
Make sure to sync the document back with Dropbox when done.
6. Email your notes
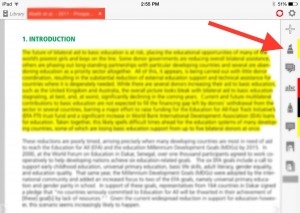
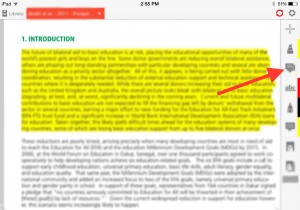
Once you are done highlighting relevant passages, use iAnnotate to email your notes to yourself, either to your regular email or to Evernote (my preferred option), by clicking on the speech bubble icon on the right hand side (see below).
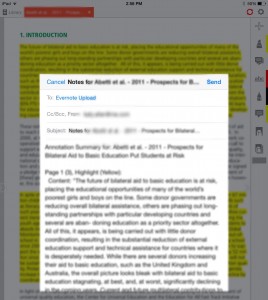
An email, containing all of your annotations (and very importantly where they are in the document, i.e. page numbers) will appear. You can just send you email to yourself, but I prefer Evernote.
Note: If you would like to use Evernote as well, simply follow these steps: Create a free Evernote account. Find your Evernote email address by logging in and going to Account Settings under your username (on the web it is located under the drop down menu in the top right corner of the screen). Scroll down to “Email notes to” and add the email address listed (should be ____@m.evernote.com) to your address book.
The good news is that when you email your notes from iAnnotate to Evernote, each source gets its own note, and is therefore taggable, searchable, and organizeable, however you’d like. Evernote can be very useful for research, and I’ll be updating you soon with more ways to use it.
The key here is to use your notes to help you craft your research paper, all the while keeping track of each source accurately. Use Evernote to organize your paper by adding tags or creating notebooks. I prefer to use Evernote, then create a detailed outline my paper in Microsoft Word. I then add all of my source material (remembering to keep my citations intact) and then write my draft from there. Others find it useful to create individual notes in Evernote for each individual piece of source material (i.e. a quote or paraphrase) and then organize it within Evernote itself. Still others prefer to print or handwrite index cards and organize it visually. It’s up to you.
7. Copy your notes to Mendeley Desktop
This step is completely optional, but I find it useful, particularly as I write and reference sources. Simply copy your annotations, either from your email or from Evernote, and paste them into the desktop version of Mendeley under the notes tab of the source. It’s a useful way to keep a copy and pasteable version of those items in your PDF you found important.

8. Write your paper and add citations and a works cited
Open Microsoft Word on your desktop. Since you have added Microsoft integration in step 3, this is the easiest – and quite possibly the most useful – part of Mendely: adding citations and auto-creating a works cited.
First, ensure that you can see the Mendeley toolbar. If not, go to View > Toolbars > Mendeley Toolbar

Write until you need a citation. To add a citation, click on Insert or Edit Citation in the Mendeley Toolbar.

A pop-up will appear. Simply search for the source and select it when found. Add any page numbers, prefixes or suffixes. Then select OK.


Your citation will appear.

Continue adding citations throughout your paper. When you are done, Mendeley will automatically produce a works cited for your paper. To add it, simply, click on the Insert Bibliography option and ensure that the drop-down menu beside it reflects your preferred citation method.

Mendeley will create a works cited – voila!

Have you tried Mendeley and the Researcher’s Workflow? I want to hear from you. Please comment below!