I thought today I’d post a quick, simple and green tutorial for creating a desk organizer from an old iPhone box. My family upgraded our iPhones recently, leaving several of these boxes laying around. They are such nice boxes that I had to come up with some clever way to reuse them! So here it is – desktop organizers that serve as a one stop place for pens, sticky notes, and more, but also have a built-in shelf and can close for easy transport (homework stations and college dorms anyone?).
Suppplies (many of which are optional based on how you customize your organizer):
- 1 iPhone box
- Sticky notes and/or sticky flags
- Pens, pencils, highlighters, scissors, paper clips, etc
- Magnets (for optional paper clip organizer)
- Contact paper, rub on transfers, stickers (for optional personalization)
Super Easy Organizer (no work whatsoever)
1. Open box and empty the contents.
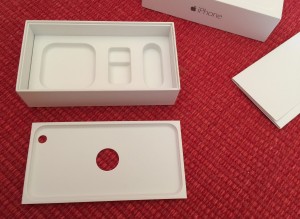
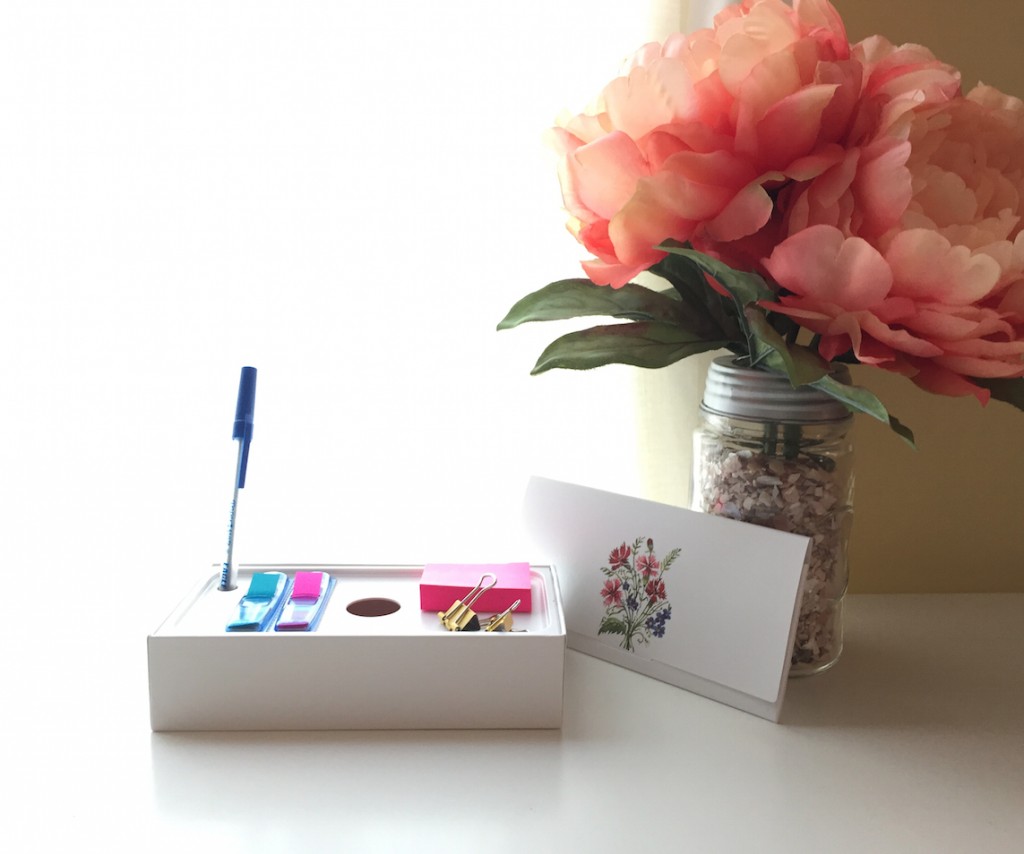
2. Use existing slots to organize supplies and attach sticky notes and flags to the iPhone shelf.

3. Enjoy! (And don’t forget that you can always place the pen inside and close it with the top to make it portable!)
Super Simple Organizer (a tiny bit of work)
1. Open box and empty contents.

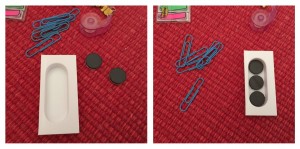
2. Carefully remove the bottom section (the one with three slots) by peeling it back. Remove any remaining adhesive and the cardboard supports.

3. Optional: Cut out any sections of the removed section to reuse in the base. In my organizer, I reused the deepest slot as a place for paper clips, adding peel and stick magnets to the base.
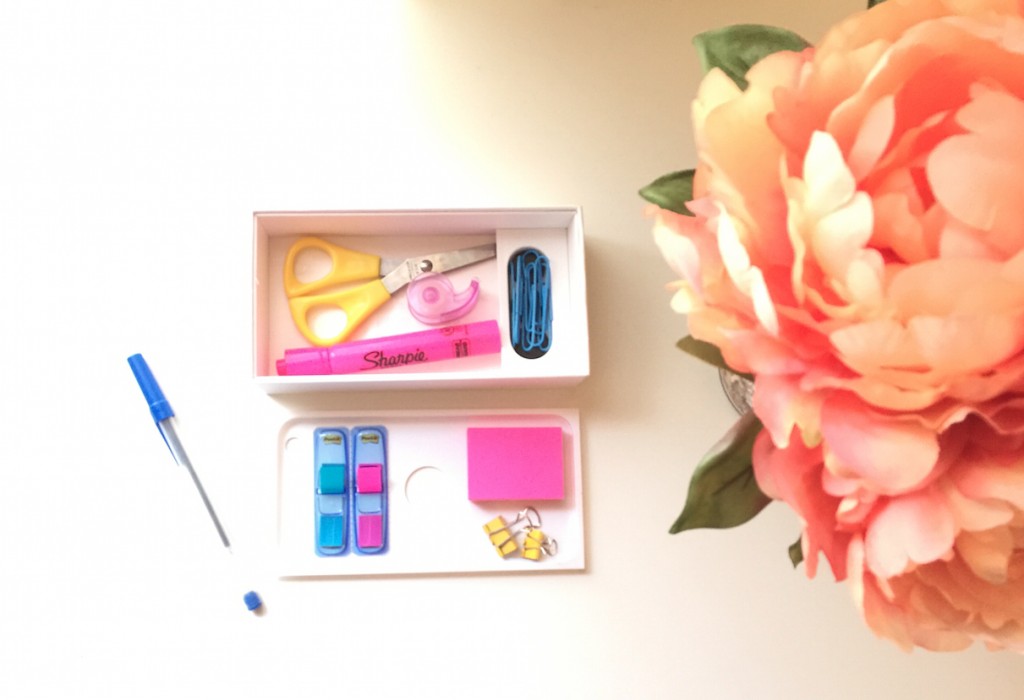
4. From here, customize it – I added sticky notes and sticky flags to the top shelf using double-sided tape, added a highlighter, scissors, and tape dispenser to the base storage, and a pen in the pen slot. Then you can decorate the exterior using any materials you wish (I’ve had success with contact paper and rub on transfers).
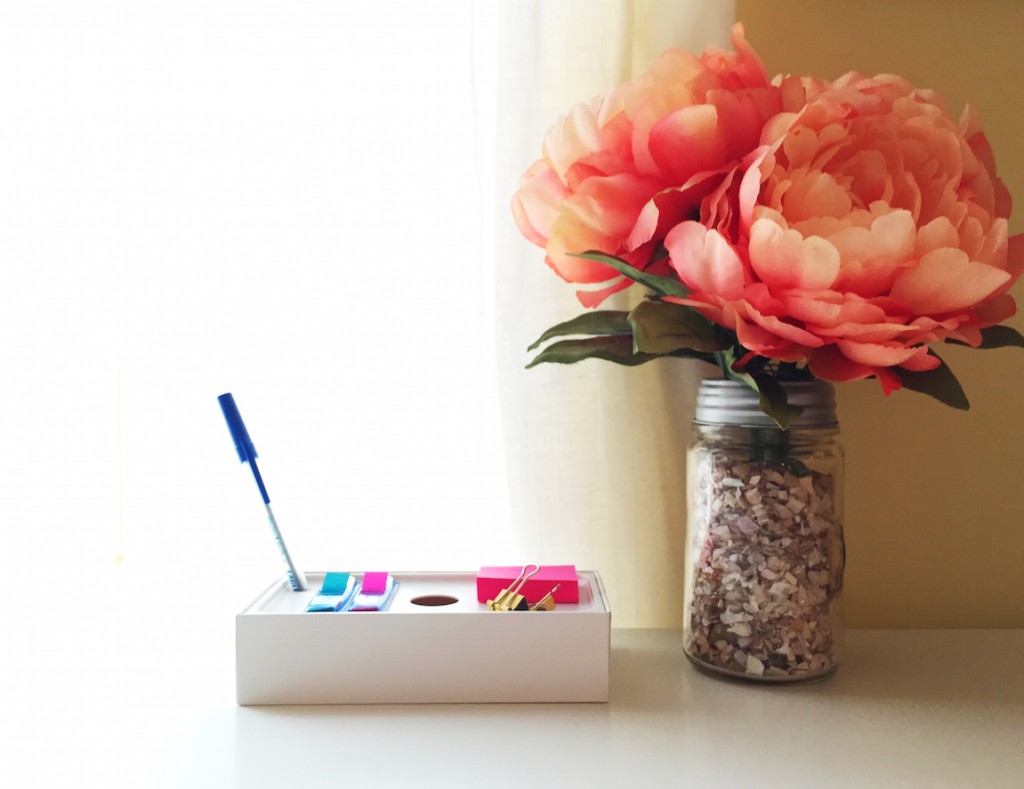
(Don’t forget to decorate and customize the top as well – you can always put the pen inside and close the top to make the desk organizer portable!)
Bonus: Coupon and Receipt Organizer
Utilize the folder that includes the directions and user guide for your iPhone as a perfect receipt or coupon organizer. Decorate to personalize (I used rub on transfers) and you’ve recycled another piece of your iPhone box!

Hope you enjoyed this tutorial and will use it in your study space!

